
Wearable Glowing Badge
Source: Stemoto Original
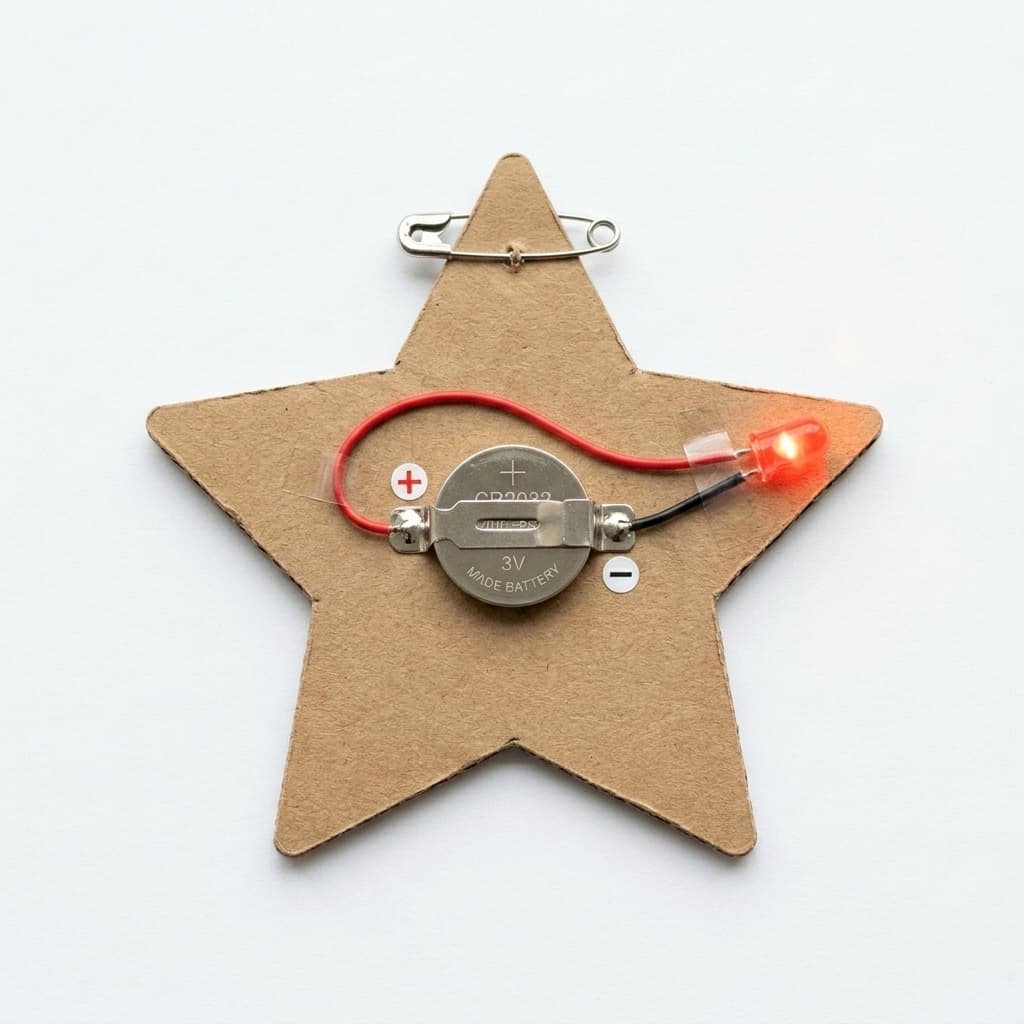
Design your own personalized light-up pin! Using felt, copper tape, and an LED, kids can create a custom glowing badge to wear on their backpack or jacket, diving straight into the world of e-textiles.
Categorisation
Props & Materials Required
- •Stiff felt or craft foam
- •Copper tape (conductive adhesive)
- •3V Coin cell battery (CR2032)
- •1x 5mm LED light (any color)
- •Safety pin
- •Hot glue or strong craft tape
- •Decorations (fabric markers, googly eyes, glitter)
Step-by-Step Instructions
Design the Badge
Cut a shape out of your felt or craft foam (like a star, a shield, or a heart). This will be the base of your badge. Poke a tiny hole where you want the LED light to shine through.
Attach the Pin
Flip the felt over. Hot glue or securely tape a safety pin to the top half of the back so you can wear it later.
Map the Circuit
Still on the back, mark where your battery will sit (usually near the bottom). Run one line of copper tape from the battery spot to the LED hole. Run a second line right next to it. Make sure they don't touch!
Mount the LED
Push the LED legs through the hole from the front to the back. Bend the positive leg flat against one copper track, and the negative leg against the other. Tape them down tightly.
Power Up & Wear
Place the coin cell battery on the tracks. Fold a tiny extra piece of felt over the battery and tape it down tightly to hold the battery in place against the copper. Pin it to your shirt and glow!
Why It Works & Notes
This is a classic 'LED Throwie' or e-textile project. It introduces kids to creating extremely compact circuits. Because a badge is small, they have to plan their circuit carefully so the battery, copper tape, and LED all fit on a tiny piece of felt without crossing paths and short-circuiting.
Very safe, no-solder project. Supervise the use of the safety pin and hot glue. AI Optional: Have your child use an AI image generator to brainstorm 'cool retro pixel art badges' or 'superhero logos' to use as the design for their pin!