
The Smart Plant Watering System
Source: Stemoto Original
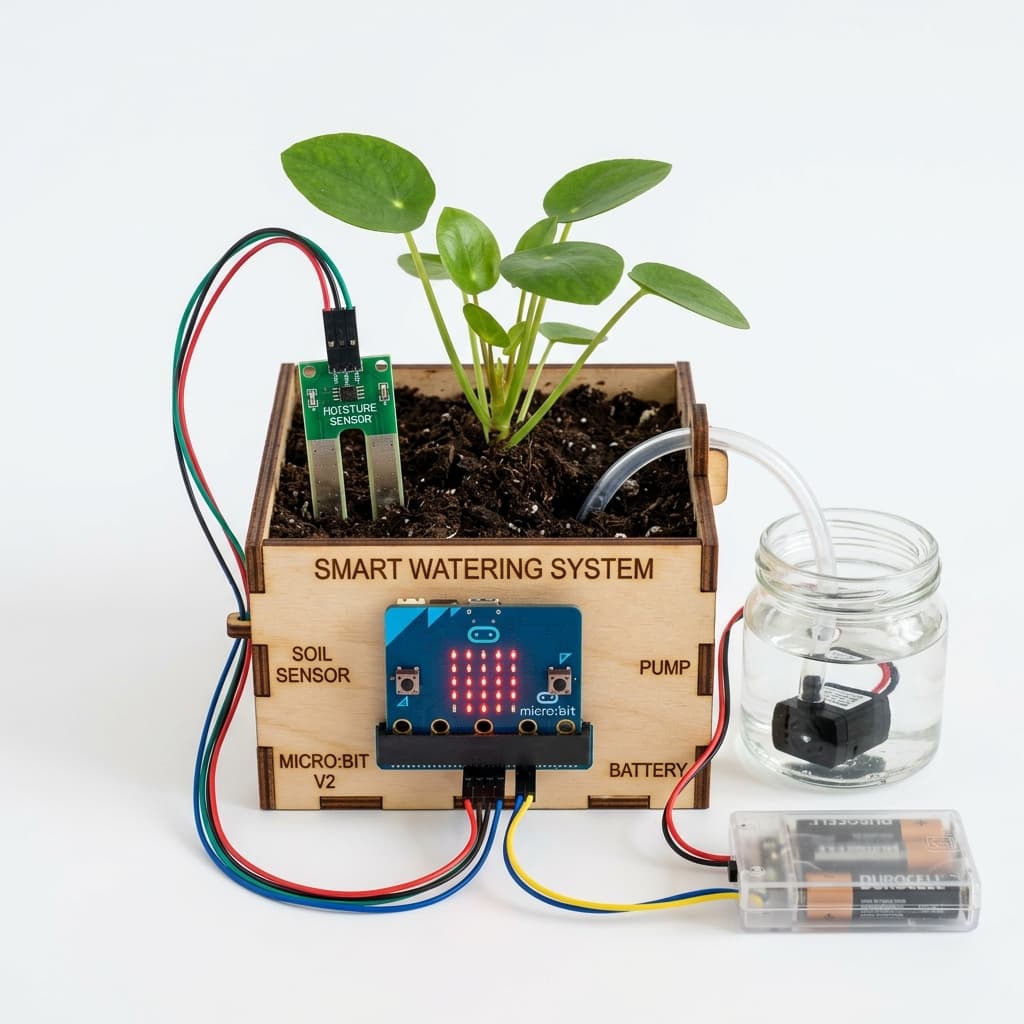
Students assemble a wooden planter box, plant a seed, and program a micro:bit to continuously read soil moisture levels. It shows an emoticon on the LED matrix (happy/thirsty) and automatically runs a mini pump when soil moisture drops below a threshold.
Categorisation
Props & Materials Required
- •micro:bit
- •Soil moisture sensor
- •Mini submersible water pump
- •Laser-cut wooden planter box
- •Small plastic tubing
- •Water container
- •Soil and seeds
Step-by-Step Instructions
Build the Planter
Assemble the laser-cut planter box. Fill it with soil and plant a seed (beans or cress grow fast and are great for this project).
Connect the Sensor
Push the soil moisture sensor probes into the soil. Connect the sensor output to the micro:bit's analog input pin.
Program the Display
In MakeCode, program the micro:bit to continuously read the moisture level. If moisture > 500 → show a happy face. If moisture < 300 → show a sad/thirsty face.
Add the Pump
Connect the mini pump to the micro:bit through a relay or transistor. Program it: if moisture < 300, turn on pump for 3 seconds, then wait 10 seconds before re-checking.
Monitor and Record
Over the next week, observe how the system automatically waters the plant. Record daily moisture readings and plant growth in a journal. Discuss: Could this work for a whole garden?
Why It Works & Notes
This project bridges environmental consciousness with real-world IoT problem solving. Children learn sensor-based automation — the same logic behind smart farms, weather stations, and industrial monitoring systems — while caring for a living plant.
NEP Alignment: Environmental consciousness and real-world IoT problem solving. Curriculum Mapping: EVS/Science (Plant Life, Natural Resources, Water Conservation). Target Level: Class 4 & 5.