
Micro:bit Sound Visualizer
Source: Stemoto Original
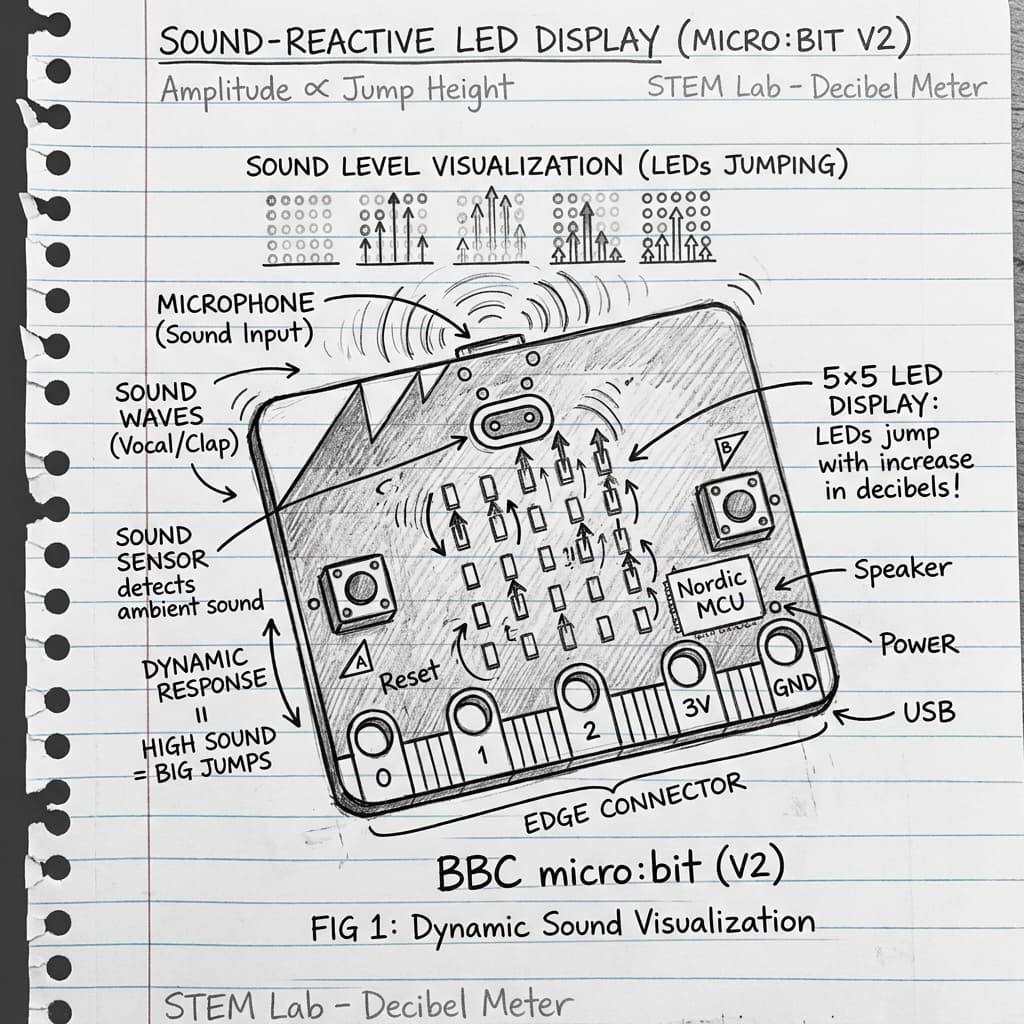
Program a digital decibel meter! Using a micro:bit V2, kids code the built-in microphone to measure the loudness of the room and translate it into a rising column of LED lights on the screen.
Categorisation
Props & Materials Required
- •A BBC micro:bit (Must be V2, which has a built-in microphone)
- •Micro USB cable and a computer
- •Portable battery pack (optional)
Step-by-Step Instructions
Open the Editor
Go to makecode.microbit.org and start a New Project.
Find the Sound Block
In the 'Input' menu, find the 'sound level' block. This block constantly measures how loud the room is.
Map the LEDs
In the 'Led' menu, find the 'plot bar graph' block. Snap it inside your 'forever' loop. Drop the 'sound level' block into the first slot.
Set the Range
Set the 'up to' value on the bar graph block to 255 (the maximum loudness the micro:bit can measure). Your code now automatically graphs the sound!
Test the Visualizer
Download the code to your micro:bit. Start whispering—only one row of LEDs will light up. Now yell or clap loudly—the whole screen will light up like a volume meter!
Why It Works & Notes
This teaches data mapping and variables in computer science. The microphone reads an analog sound level (say, from 0 to 255), and the code mathematically maps that data to determine how many of the 5 LED rows should light up.
This project explicitly requires a micro:bit Version 2, because Version 1 does not have a built-in microphone. The V2 has a bumpy bottom edge and a gold logo on the front.