
Illuminated Shadow Box Diorama
Source: Stemoto Original
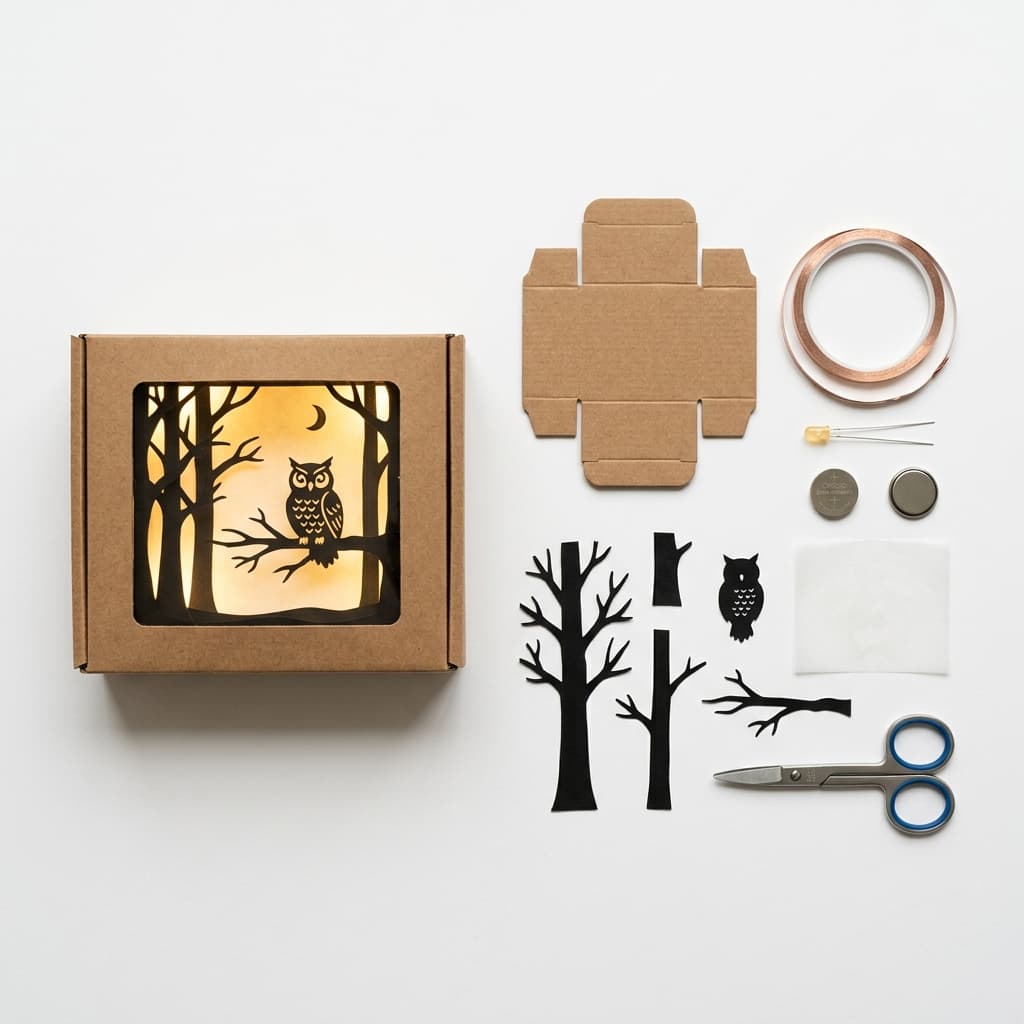
Construct a magical 3D scene inside a small box! By layering paper cutouts and hiding an LED light behind the layers, kids learn how light and shadow create depth, while building a simple closed circuit to power their artwork.
Categorisation
Props & Materials Required
- •Small cardboard box (like a shoebox or jewelry box)
- •Cardstock or thick paper (for cutting scenery)
- •Copper tape (conductive adhesive)
- •3V Coin cell battery (CR2032)
- •1x 5mm LED light (color of your choice)
- •Scissors, glue, and markers
- •Tracing paper or wax paper (optional, to diffuse the light)
Step-by-Step Instructions
Prepare the Box
Take a small cardboard box and cut a large viewing window out of the front lid. If you have tracing paper or wax paper, glue a sheet over the inside of the window to create a frosted glass effect (this diffuses the LED light beautifully).
Cut the Layers
Cut out shapes from your cardstock to build your scene. Make a 'background' layer (like a moon or tall mountains), a 'middle' layer (like trees or a castle), and a 'foreground' layer (like an animal or character). Fold the bottom edge of each cutout so they can stand up inside the box.
Wire the Background
Before gluing the layers in, poke a small hole in the back wall of the box. Run two lines of copper tape down the outside back of the box to the bottom corner. Push the LED through the hole from the outside in, so it shines inside the box.
Connect the Power
Tape the LED legs to the copper tape on the back of the box (remembering polarity). Place the coin cell battery at the end of the tracks and use a binder clip to hold it in place. The light is on!
Assemble the Scene
Glue your paper layers into the box, starting from the back and moving forward. Place the silhouettes so the LED light shines out from behind them, casting cool shadows. Close the box, turn off the room lights, and enjoy your diorama!
Why It Works & Notes
This activity is all about 'Layered Scene Building'. From an engineering standpoint, kids learn to route wires (copper tape) behind a structural wall so the mechanics stay hidden. From an art perspective, they learn about forced perspective, silhouettes, and how light diffusion creates a glowing, magical atmosphere.
Very safe, no-solder project. The hardest part is cutting out the fine details of the paper silhouettes, so younger kids (5-7) will definitely need scissor help. AI Optional: Use an AI image generator to create 'layered papercraft forest silhouettes' to print out and trace for perfect scenery!