
DIY Smart Streetlights
Source: Stemoto Original
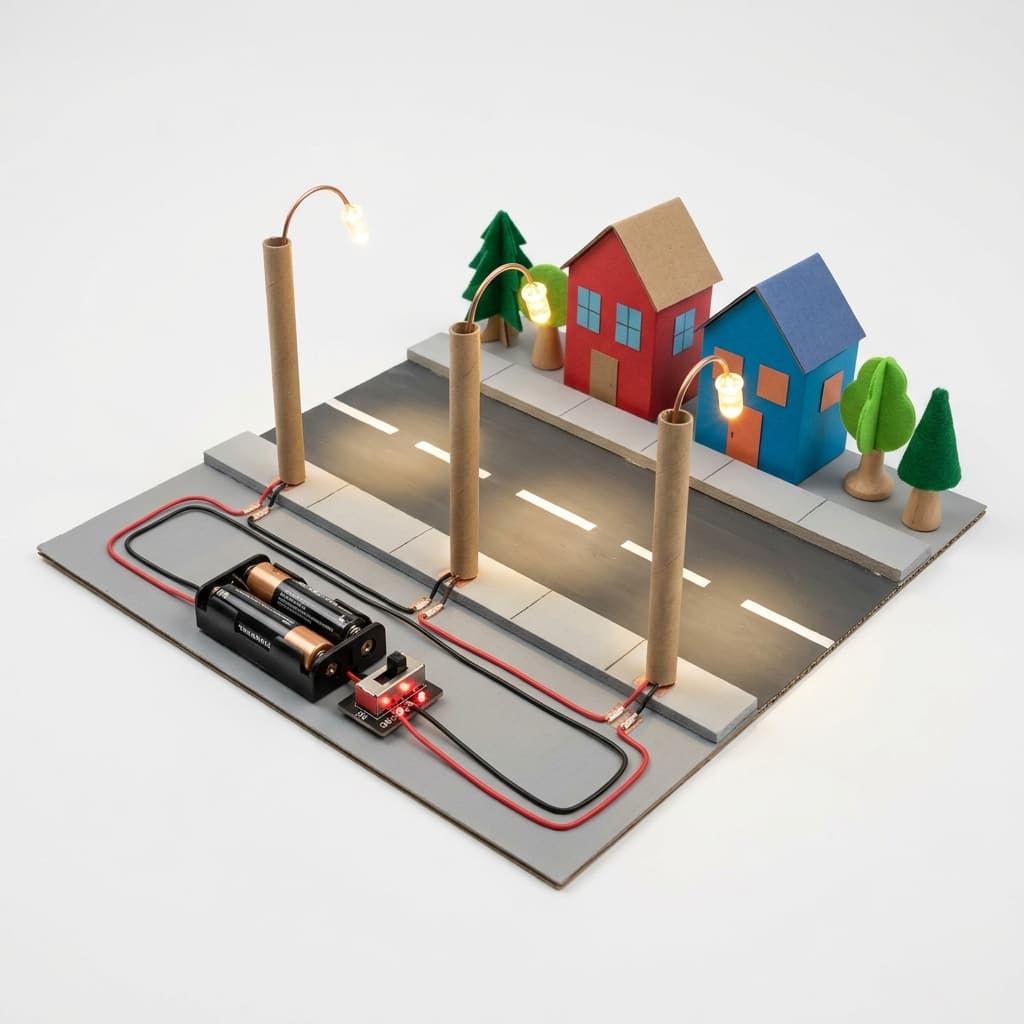
Students build a neighborhood using LEGO bricks or cardboard, then wire up a functional street using Snap Circuit battery packs and LEDs. They learn how to complete a simple loop circuit to light up their paper-tube streetlights.
Categorisation
Props & Materials Required
- •Snap Circuits kit
- •Paper tubes (toilet paper rolls) for lamp posts
- •LEDs (warm white or yellow)
- •LEGO bricks or cardboard for buildings
- •Copper tape or jumper wires
- •AA battery pack
Step-by-Step Instructions
Build the Neighborhood
Using LEGO bricks or cardboard, construct a small neighborhood: 3-4 houses, a school, a park, and a road connecting them.
Make the Lamp Posts
Cut paper tubes to lamp-post height. Poke an LED through the top of each tube so the light shines down like a real streetlight.
Wire the Street
Using Snap Circuits, connect all the streetlight LEDs in a single loop circuit from the battery pack. Place the lamp posts along the road.
Test and Debug
Connect the battery. Do all lights turn on? If one is out, trace the circuit — is there a loose connection? This debugging teaches troubleshooting in a real-world context.
Add a Switch
Add a Snap Circuit switch to the circuit. Now you can turn the streetlights on at 'night' (room lights off) and off at 'dawn' (room lights on). Discuss: Who controls the streetlights in your real neighborhood?
Why It Works & Notes
Project-based learning linking community awareness with foundational physics. Instead of just talking about community infrastructure in EVS class, children physically build and wire it — discovering that every streetlight in their real neighborhood works on the same circuit principles.
NEP Alignment: Project-based learning linking community awareness with foundational physics. Curriculum Mapping: EVS (Community, Neighborhoods) + Science (Basic Electricity). Target Level: Class 3.