
Conductors, Insulators & The Smart Mini-House
Source: Stemoto Original
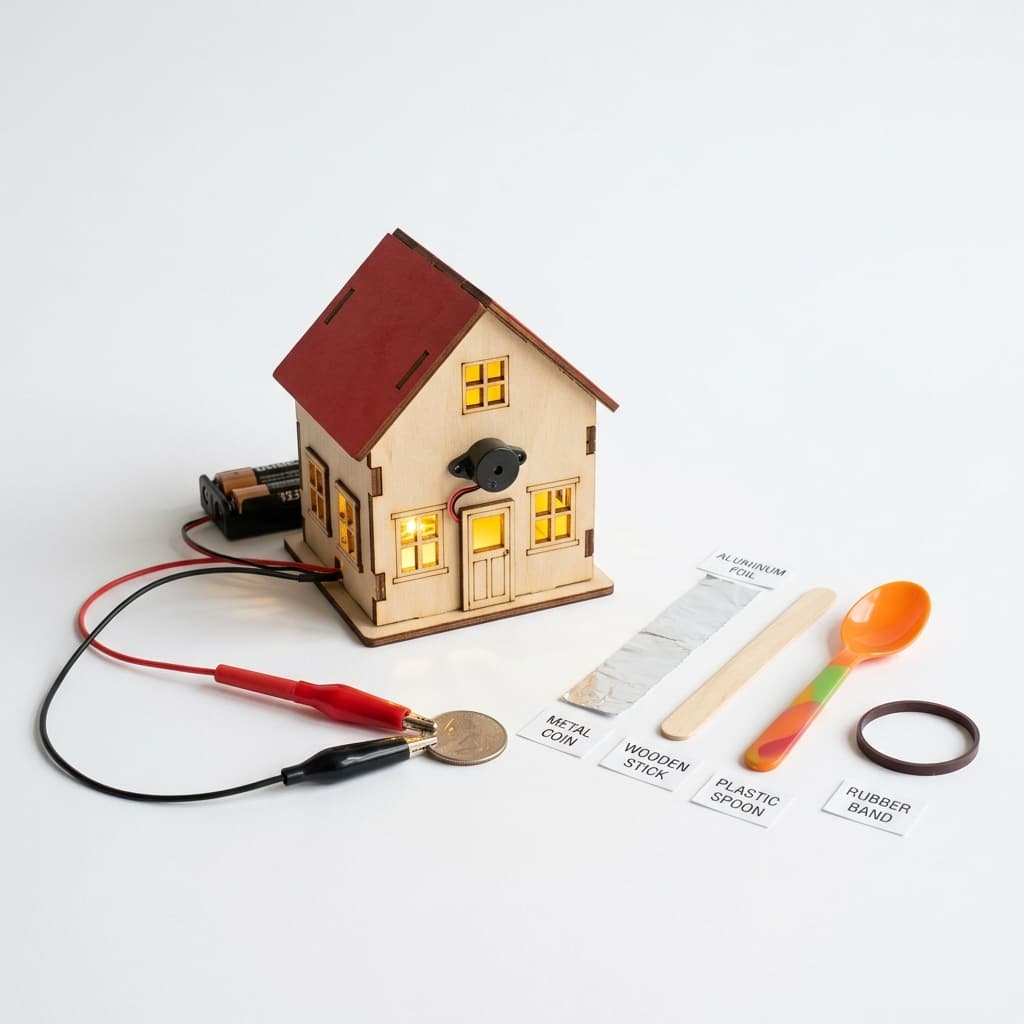
Students assemble a 3D laser-cut house and use Snap Circuits with touch probes to test everyday items (wood, aluminum, plastic, water) to discover conductors vs. insulators. Then they wire up functional lights and a door buzzer for their house.
Categorisation
Props & Materials Required
- •Snap Circuits kit
- •Precision laser-cut wooden house kit
- •Copper tape
- •LEDs (for house lights)
- •Small buzzer (for door bell)
- •Test items: aluminum foil, wood stick, plastic spoon, glass of water, rubber band, coin
Step-by-Step Instructions
Build the House
Assemble the laser-cut wooden house kit. Leave space for windows (where LEDs will go) and a doorway (where the buzzer will be).
Set Up the Test Station
Use Snap Circuits to build a simple circuit with a battery, an LED, and two open probe wires. The circuit is incomplete — touching the probes to a material will test if it conducts electricity.
Test Everything
Gather household items: aluminum foil, a wooden stick, a plastic spoon, a coin, a rubber band, water. Touch the probes to each item. Does the LED light up? Record which items are conductors and which are insulators.
Wire the House
Using copper tape, wire up LEDs inside the house windows and connect them to a battery. Add a buzzer at the front door with a simple push-button switch.
Make It Smart
Challenge: Can you make the door buzzer work by using a conductor as the switch? Place a coin on a copper pad to ring the doorbell — if you place a plastic button, nothing happens!
Why It Works & Notes
Scientific inquiry comes alive when children physically test materials and see immediate results. The house gives context — 'Why does the light work when I touch the foil but not the plastic?' — turning abstract material science into tangible, tactile construction.
NEP Alignment: Scientific inquiry, material science through tactile construction. Curriculum Mapping: Science (Materials Around Us, Basic Electricity, Energy). Target Level: Class 3 & 4.