
Cardboard Servo Crane
Source: Stemoto Original
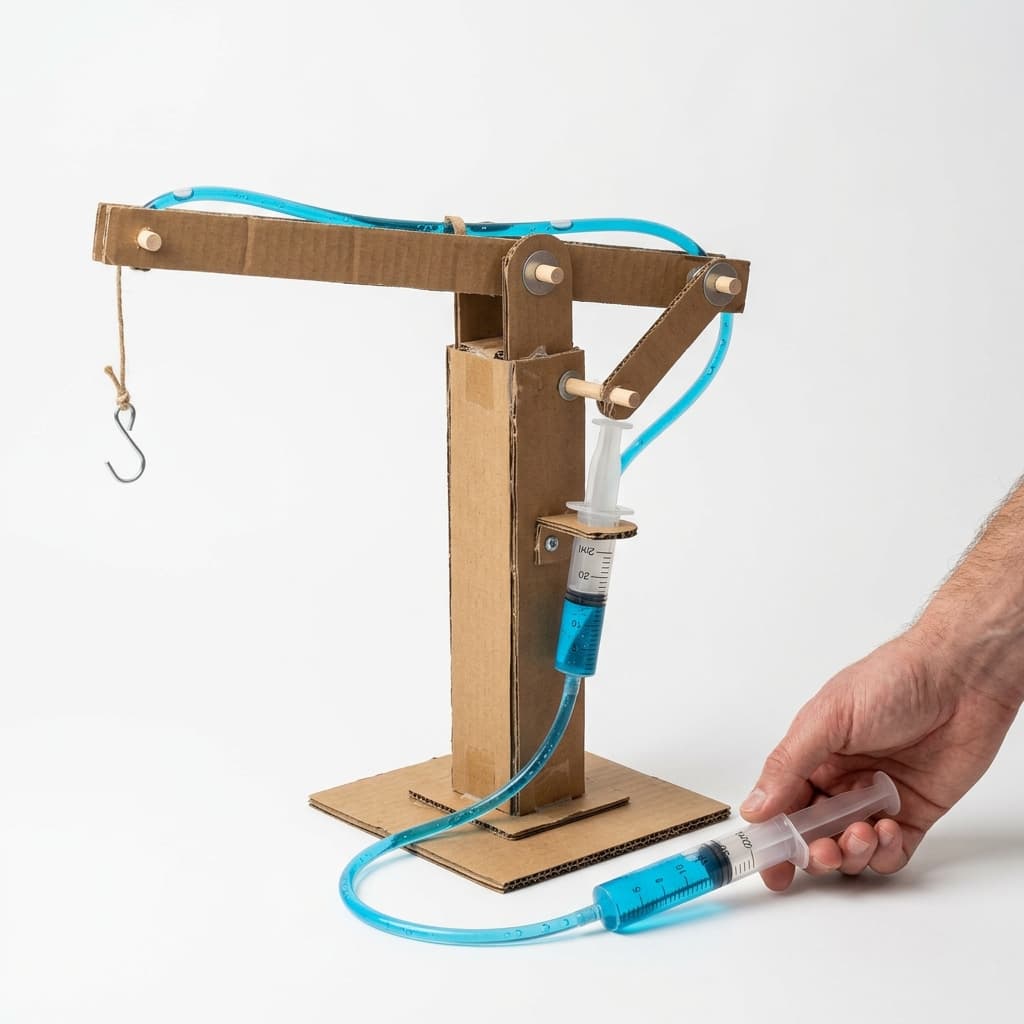
Automate a construction site! Kids build a physical cardboard crane and program a micro:bit and a servo motor to act as the winch, lifting and lowering cargo at the press of a button.
Categorisation
Props & Materials Required
- •A BBC micro:bit
- •A 180-degree micro servo motor (like the SG90)
- •Alligator clips
- •Cardboard, hot glue, and scissors
- •String and a paper cup (for the cargo basket)
Step-by-Step Instructions
Build the Crane Tower
Cut long strips of cardboard to build a tall tower with an arm sticking out (an upside-down L shape). Hot glue it to a heavy cardboard base so it won't tip over.
Mount the Winch
Hot glue the tiny blue servo motor to the top of the crane arm. Tie a long piece of string to the white plastic 'horn' of the servo motor. Tie a small paper cup to the other end of the string.
Code the Controls
In MakeCode, grab an 'on button A pressed' block. Inside it, put a 'servo write pin P0 to 180 degrees' block. Grab an 'on button B pressed' block and put a 'servo write pin P0 to 0 degrees' block inside.
Wire the Servo
Connect the servo's signal wire to Pin 0 on the micro:bit, the power wire to 3V, and the ground wire to GND using alligator clips.
Lift the Cargo!
Flash the code and power up the micro:bit. Put a small toy in the paper cup. Press Button A to wind the string up, and Button B to lower the crane back down!
Why It Works & Notes
This combines civil engineering with robotics. A servo motor doesn't spin endlessly; it rotates to a specific mathematical angle (0 to 180 degrees) dictated by the code. The micro:bit's buttons are programmed to change that angle, winding or unwinding the string.
You will need alligator clips to connect the servo wires to the micro:bit pins. Make sure to use Pin 0 for the signal (yellow/orange wire), 3V for power (red wire), and GND for ground (brown/black wire).